

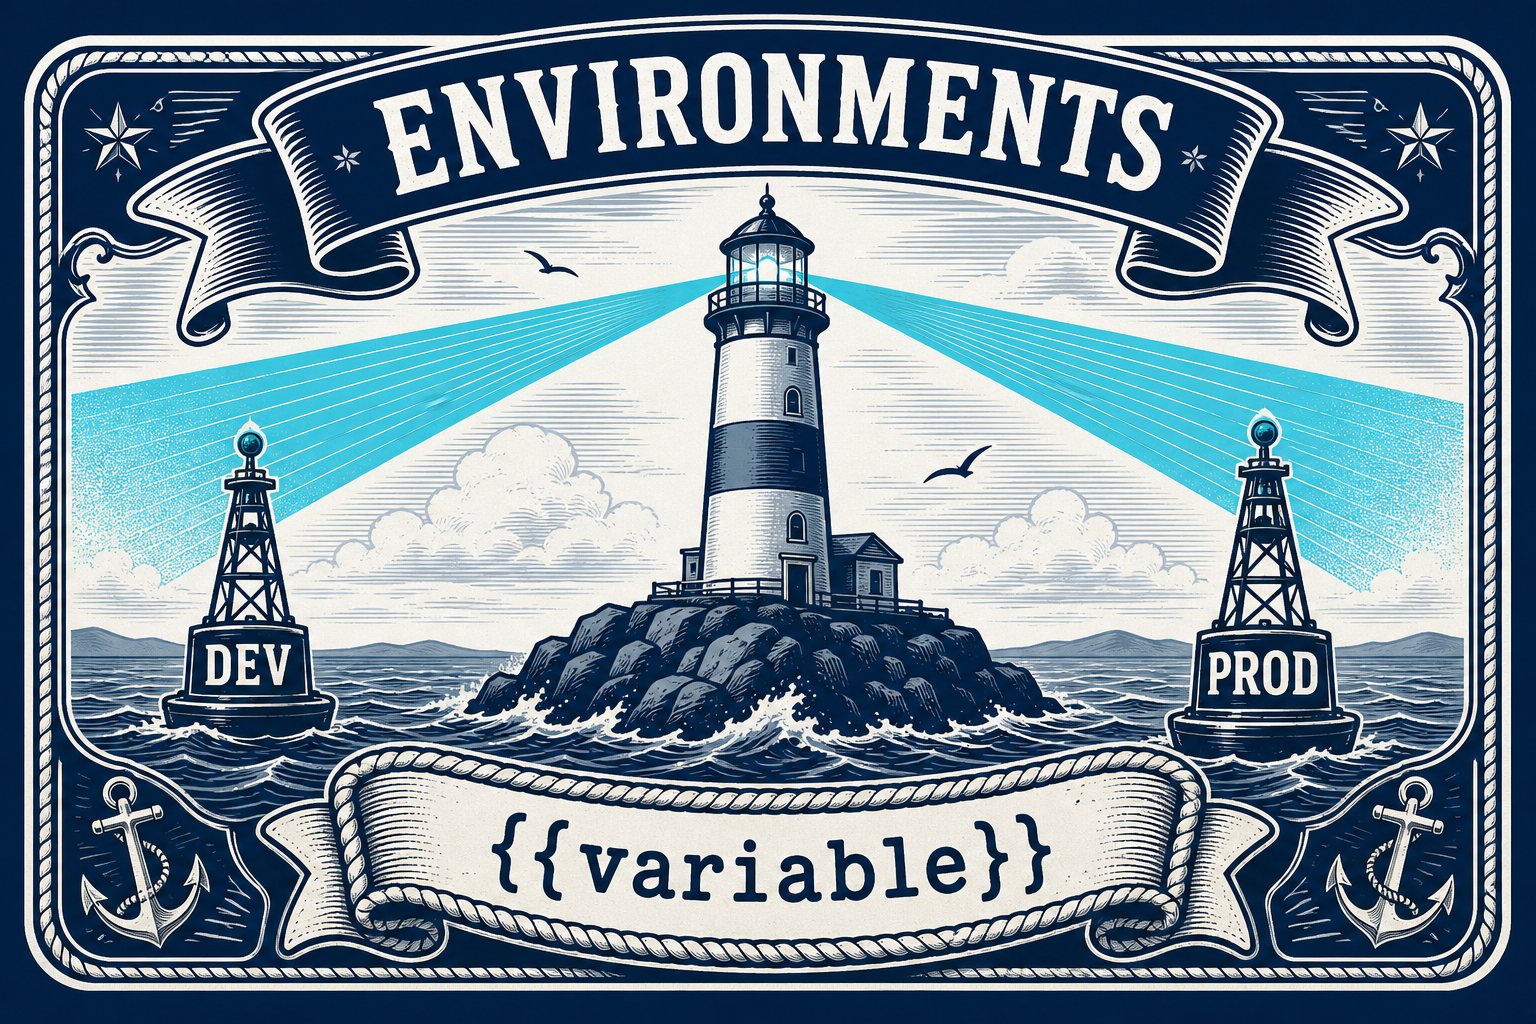
The same API requests often need different base URLs, tokens, and IDs depending on where you are pointing. HarborClient environments are purpose-built for that: named sets of variables you switch between—Development, Staging, Production—while your collections and requests stay the same.
Keep one collection. Create three environments. Flip the footer picker, and every {{baseUrl}} and {{apiKey}} resolves to the values for that environment. No duplicated folders, no find-and-replace across requests.

What are environments?
An environment is a named group of key/value variables, managed in the Collections sidebar under Environments. When an environment is active, its variables participate in request substitution using {{variable}} syntax in URLs, headers, and bodies.
A few rules that matter day to day:
- When a variable’s value is empty, HarborClient uses its default.
- Environment variables override collection, folder, and global variables with the same key.
- Environments are stored globally in HarborClient—not inside a single collection—so you can reuse them across your workspace.
Variable resolution builds up from broader scopes to the active environment:
- Globals (Settings → Globals)
- Collection variables
- Folder variables
- Active environment variables (highest precedence)
Why use environments?
- One collection, many targets — Point the same requests at local, staging, or production by switching environments.
- Safer secrets — Keep sensitive values in environment variables (and mark them private) instead of hard-coding them into requests.
- Faster context switches — Change the active environment in the footer and keep working—no rewriting URLs.
- Shareable configs — Export environments as JSON, or import from the
.envfiles you already use in development.
Switching between development and production
There are two primary ways to change the active environment:
Footer environment picker
In the footer, click the environment name (or Environment when none is selected). Choose the environment you want. Click the currently active environment again to deselect it. Your selection is remembered across sessions.

Environments sidebar
In the Collections sidebar, open the Environments section and click a row. That environment becomes active and the row is highlighted so you can see which one is in use.

How to create an environment
- In the Collections sidebar, find the Environments section and click Add Environment.
- Stay on the Create new tab, enter a name (for example, Development), and click Create.
- Open Settings from the row menu (or double-click the row) to edit the name and variables.
- Add keys such as
baseUrlandapiKey, then click Save.
Use those keys in requests with curly-brace syntax—for example, {{baseUrl}}/users—and HarborClient substitutes the values from the active environment when you send.
Import from a .env file
If you already keep secrets and URLs in dotenv files, you can import them directly into HarborClient.
- Click Add Environment.
- Switch to the Import file tab.
- Click Import file and choose a HarborClient environment export (
.json) or a.envfile. - On success, the imported environment becomes active.
HarborClient accepts:
- HarborClient JSON exports — full environment data (name, variables, color, and identity).
- Dotenv files — standard
KEY=valuepairs. Comments and blank lines are ignored; quoted values are supported.
Recognized dotenv filenames include .env, .env.local, .env.production, dev.env, prod.env, and similar patterns. The imported environment’s name comes from the filename.
A few caveats worth knowing:
- Variables imported from dotenv are treated as private by default.
- The file picker filters for common extensions such as
.jsonand.env. Files like.env.localmay not appear in the filtered picker—rename to something likelocal.env, or import a HarborClient JSON export instead. - Re-importing a HarborClient JSON export that matches an existing environment asks whether to Update existing or Import as new copy.
Export an environment
- Open the environment’s row actions menu (⋯) or right-click the row.
- Choose Export.
- Save the JSON file (default name is
{name}.json).
Private variables export with empty values (keys and defaults are kept). Shared variables include their values. That makes it easier to commit environment structure to git without leaking secrets.
Duplicate an environment
Need a Production environment that starts as a copy of Development? Open the row menu and choose Duplicate. HarborClient creates {name} (copy) directly below the original, copies all variables, and makes the duplicate active. Rename it in Settings and change the values that differ between environments.
Copy down vs merge down
When you have two environments stacked in the sidebar, the upper one’s menu can include Copy down and Merge down. Both operate on the environment directly below in sidebar order—so reorder with drag-and-drop or Move up / Move down when you need a different pair.
Copy down
Copy down adds variables from the top environment that are missing in the bottom one. Existing keys in the bottom environment are never changed. Both environments remain.
Use it when Development gained a new key (for example, tenantId) and you want Production to receive that key without overwriting Production’s own baseUrl or apiKey.
Merge down
Merge down combines the top environment into the one below. The top environment is deleted. On duplicate keys, the top environment’s values win. The surviving environment keeps the top environment’s name.
Use merge when two overlapping environments should become one. Confirm carefully—the dialog asks you to merge by name and spells out the resulting name.
Other useful actions
- Settings — Rename the environment and edit variables.
- Delete — Moves the environment to Trash (you can restore it later).
- Set color — Add a sidebar color so Development and Production are easy to spot.
- Reorder — Drag rows or use Move up / Move down; order controls which environment is “below” for copy and merge.
A practical workflow
Here is a simple setup that matches how many teams already work:
- Import
dev.env(or create Development by hand) and set variables likebaseUrlandapiKey. - Duplicate Development, rename the copy to Production, and update the production URL and key.
- Write requests against
{{baseUrl}}and other shared keys—never hard-code the host. - Use the footer picker to switch between Development and Production while sending the same requests.
- When you add a new variable in Development, put Development above Production in the sidebar and use Copy down so Production picks up the new key without losing its overrides.
Tips for cleaner environments
- Name environments after the target (Development, Staging, Production), not after a single collection.
- Prefer shared key names across environments so switching never breaks requests.
- Mark secrets as private so exports stay safe to share or commit.
- Keep the Environments list ordered intentionally—copy and merge always look at the neighbor below.
Get started
Create a Development environment (or import your existing .env), duplicate it for Production, and put {{baseUrl}} in the requests you use most. The next time you need to flip targets, switch environments in the footer—same collection, same requests, different values.


Leave a Reply