

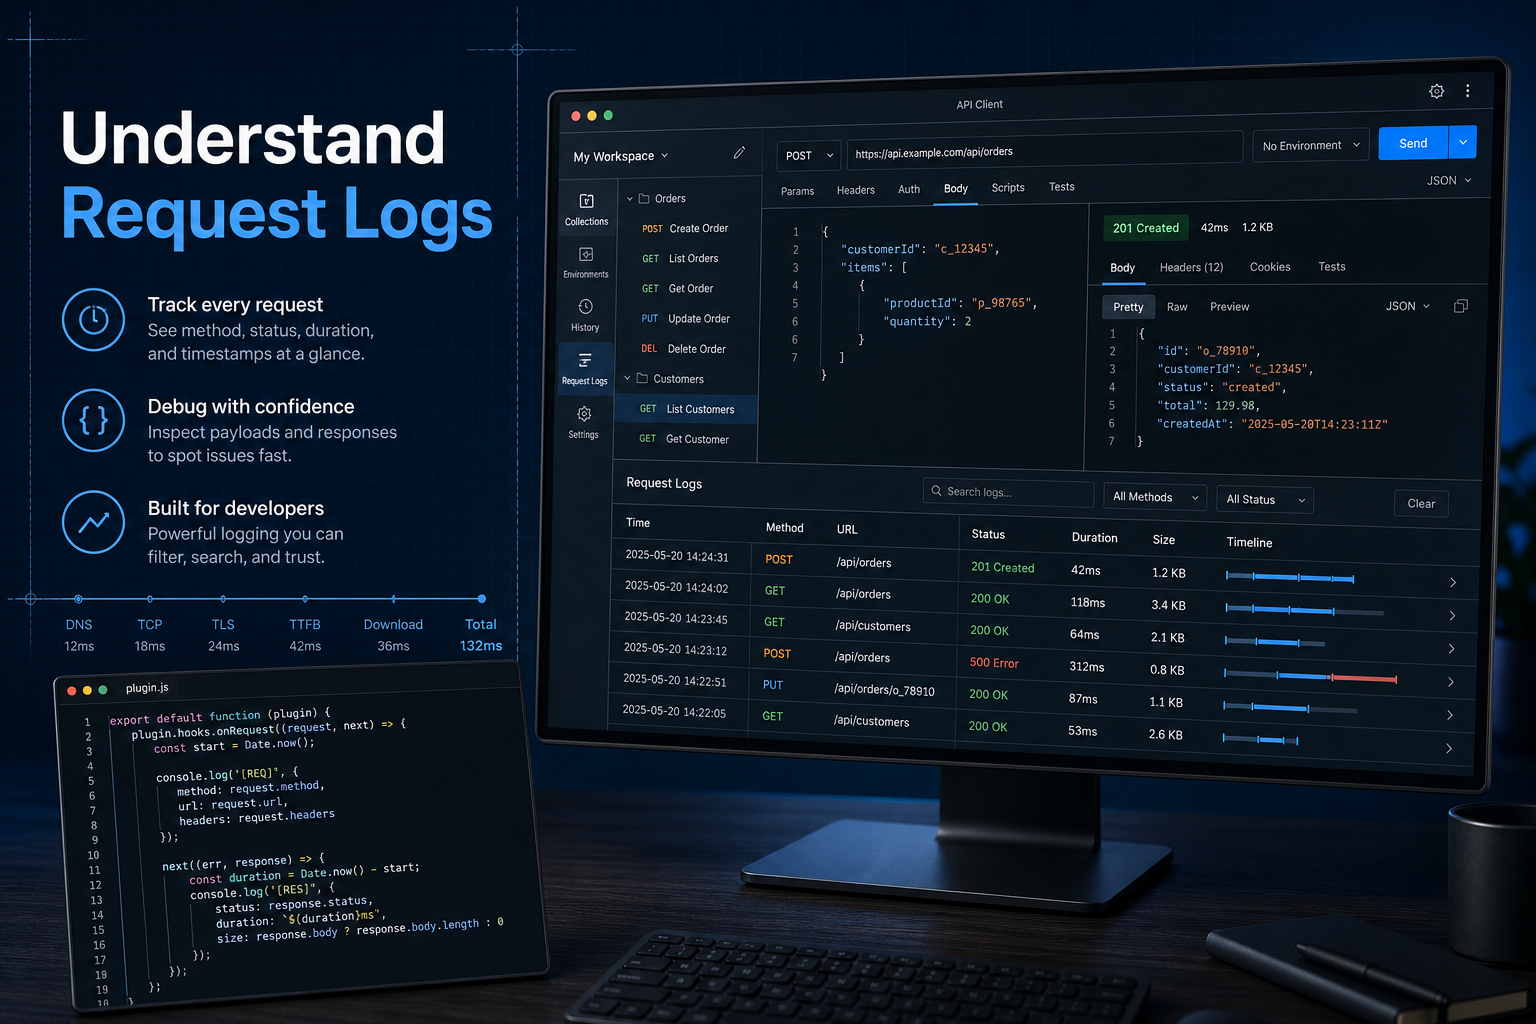
HarborClient plugins can listen to every completed HTTP exchange. That makes it straightforward to build a local request logger: pick a file in Settings, then append method, URL, status, and a few other details after each send.
This tutorial starts from the official plugin skeleton, replaces the example settings toggle with a log file path, and wires hc.http.onAfterSend to write newline-delimited JSON. For the full API reference, see the Plugin development guide.
What you will build
A small unpacked plugin that:
- Contributes a Settings section where you choose the log file
- Stores the chosen path in plugin storage
- Listens after each request with
hc.http.onAfterSend - Appends one JSON line per exchange to that file
Prerequisites: HarborClient with plugin support, Node.js, and pnpm.
Start from the plugin skeleton
Clone the skeleton, then detach it from the upstream Git history so your project can become its own repository:
git clone https://github.com/harborclient/plugin-skeleton.git request-logger
cd request-logger
rm -rf .git
git init
pnpm install
Deleting .git (or running rm -rf .git && git init) is important. If you leave the skeleton remote in place, your first push will still point at the template repository.
Open package.json and set the dependency @harborclient/sdk to version “^1.5.1”.
Open the request-logger directory using your favorite IDE, like VS Code or Cursor.

Update manifest.json so the plugin has a unique id, a clear name, and the permissions this logger needs:
{
  "id": "com.example.request-logger",
  "name": "Request Logger",
  "version": "1.0.0",
  "author": "Acme Inc.",
  "summary": "Append completed requests to a local log file.",
  "description": "README.md",
  "engines": { "harborclient": ">=2.0.0" },
  "renderer": "dist/renderer.js",
  "main": "dist/main.js",
  "permissions": [
    "ui",
    "storage",
    "http",
    "filesystem:pick",
    "filesystem:read",
    "filesystem:write"
  ],
  "contributes": {
    "settingsSections": [{ "id": "settings", "title": "Request Logger" }]
  }
}

The skeleton already declares ui, storage, and http. The filesystem permissions let the settings panel create or choose a log file, then let the after-send handler read and rewrite that allowlisted path. You can drop the example footer panel contribution for this tutorial; a Settings section is enough.
Add a log file setting
Open src/components/SettingsPanel.tsx and replace the skeleton’s enabled checkbox with a log file path UI.
hc is the plugin context HarborClient passes into your plugin APIs. In the skeleton, activate(hc) in src/renderer.tsx receives it and forwards it into the settings panel as <SettingsPanel hc={hc} />. That hc prop is typed as PluginContext from @harborclient/sdk. Call hc.fs.saveFile so the user picks a destination — HarborClient allowlists that path and keeps the grant across restarts — then persist the absolute path with hc.storage.set('logFilePath', path). Replace the whole file contents with:
import { useCallback, useEffect, useState } from '@harborclient/sdk/react';
import type { PluginContext } from '@harborclient/sdk';

const STORAGE_KEY = 'logFilePath';

export function SettingsPanel({ hc }: { hc: PluginContext }) {
  const [logFilePath, setLogFilePath] = useState('');
  const [error, setError] = useState<string | null>(null);

  useEffect(() => {
    let active = true;
    void hc.storage
      .get<string>(STORAGE_KEY)
      .then((value) => {
        if (active) setLogFilePath(value ?? '');
      })
      .catch(() => {
        if (active) setError('Failed to load settings.');
      });
    return () => {
      active = false;
    };
  }, [hc.storage]);

  const chooseLogFile = useCallback(async () => {
    setError(null);
    try {
      const path = await hc.fs.saveFile('', {
        defaultPath: 'harborclient-requests.jsonl',
        filters: [{ name: 'JSON Lines', extensions: ['jsonl', 'log', 'txt'] }]
      });
      if (!path) return;
      await hc.storage.set(STORAGE_KEY, path);
      setLogFilePath(path);
      hc.ui.showToast('Log file updated');
    } catch {
      setError('Failed to save log file path.');
    }
  }, [hc]);

  return (
    <div className="flex flex-col gap-3 p-4">
      <p className="text-muted">
        Choose where HarborClient should append request logs.
      </p>
      <p className="break-all">{logFilePath || 'No log file selected.'}</p>
      <button type="button" onClick={() => void chooseLogFile()}>
        Choose log file…
      </button>
      {error ? <p className="text-danger">{error}</p> : null}
    </div>
  );
}
Leave src/renderer.tsx alone for a moment — the next section replaces that file with the full activation code that registers this settings panel and the after-send logger.
Listen after each request
The skeleton’s src/main.ts already shows the HTTP hook pattern with hc.http.onAfterSend.
In the HarborClient plugin SDK, a hook is a Disposable-returning callback the host runs at a specific lifecycle moment. For the full inventory — HTTP, host, themes, live servers, filesystem, and cleanup — see SDK Hooks.
The skeleton’s main-process hook is ideal for terminal logging. File writes, though, go through hc.fs, which is available on the renderer plugin context. For this logger, open src/renderer.tsx again and register the after-send handler there so you can read the path from storage and append to disk in one place. Replace the contents of src/renderer.tsx with:
import type { PluginContext, PluginHttpRequest, PluginHttpResponse } from '@harborclient/sdk';
import { SettingsPanel } from './components/SettingsPanel';

const STORAGE_KEY = 'logFilePath';

async function appendLogLine(hc: PluginContext, line: string): Promise<void> {
  const path = await hc.storage.get<string>(STORAGE_KEY);
  if (!path) return;

  let existing = '';
  try {
    existing = await hc.fs.readFile(path);
  } catch {
    existing = '';
  }

  const next = existing.length === 0 ? `${line}\n` : `${existing}${line}\n`;
  await hc.fs.writeFile(path, next);
}

export function activate(hc: PluginContext): void {
  function SettingsPanelHost() {
    return <SettingsPanel hc={hc} />;
  }

  hc.ui.registerSettingsSection({
    id: 'settings',
    title: 'Request Logger',
    Component: SettingsPanelHost
  });

  hc.http.onAfterSend(async (request: PluginHttpRequest, response: PluginHttpResponse) => {
    const entry = {
      at: new Date().toISOString(),
      method: request.method,
      url: request.url,
      requestHeaders: request.headers,
      bodyLength: request.body?.length ?? 0,
      status: response.status,
      statusText: response.statusText,
      responseHeaders: response.headers,
      responseBodyLength: response.body?.length ?? 0,
      sourceRequestName: request.sourceRequestName ?? null
    };

    try {
      await appendLogLine(hc, JSON.stringify(entry));
    } catch (error) {
      console.error('Failed to write request log', error);
    }
  });
}

A few practical notes:
hc.fs.writeFileoverwrites the whole file, so the helper reads the current contents, appends one JSON line, and writes the result back.- User-selected paths from
saveFilestay on the plugin allowlist after restart. - Prefer lengths or redacted summaries over full bodies when logs might contain tokens or personal data.
- If you still want terminal output, keep the skeleton’s
src/main.tsonAfterSendlogger alongside this renderer handler.
Build and load the plugin from a directory
Build at least once so dist/ exists, then point HarborClient at the project folder:
pnpm build
# or, while iterating:
pnpm dev
- Open File → Plugins (Alt+Shift+P).
- Choose Install → Load unpacked….
- Select the
request-loggerdirectory — the folder that containsmanifest.json. - Confirm the permissions dialog and enable the plugin.

Unpacked plugins stay registered across launches. While pnpm dev is watching, HarborClient reloads the plugin when manifest.json or the built entry files change. Leave the settings panel open if you want to see UI updates immediately after each rebuild.
One thing to note, the README.md included in the plugin directory is displayed to users of the plugin. You will need to replace the skeleton markdown with your own.

Enable logging
Open Settings → Request Logger, choose a log file.

Verify the log
Now send several requests, and open the file you chose. You should see one JSON object per line, for example:
{"at":"2026-08-02T15:01:22.410Z","method":"GET","url":"https://httpbin.org/get","requestHeaders":{"Accept":"*/*"},"bodyLength":0,"status":200,"statusText":"OK","responseHeaders":{"content-type":"application/json"},"responseBodyLength":312,"sourceRequestName":"Get httpbin"}

If nothing appears, confirm the plugin is enabled, a log path is saved in Settings, and the send completed (after-send runs when a response is received).
Next steps
Want those JSONL lines in the HarborClient UI? Continue in Show Request Logs in a Footer Panel — add a Request Logs footer toggle and a slide-up panel that lists recent exchanges as they complete. From there you can also filter by status, rotate files by date, or package the plugin for others. When you are ready to share it, commit a built dist/, push to GitHub, and follow the marketplace steps in How to Write a HarborClient Plugin.
More resources:


Leave a Reply